Wednesday, November 12

Give thanks


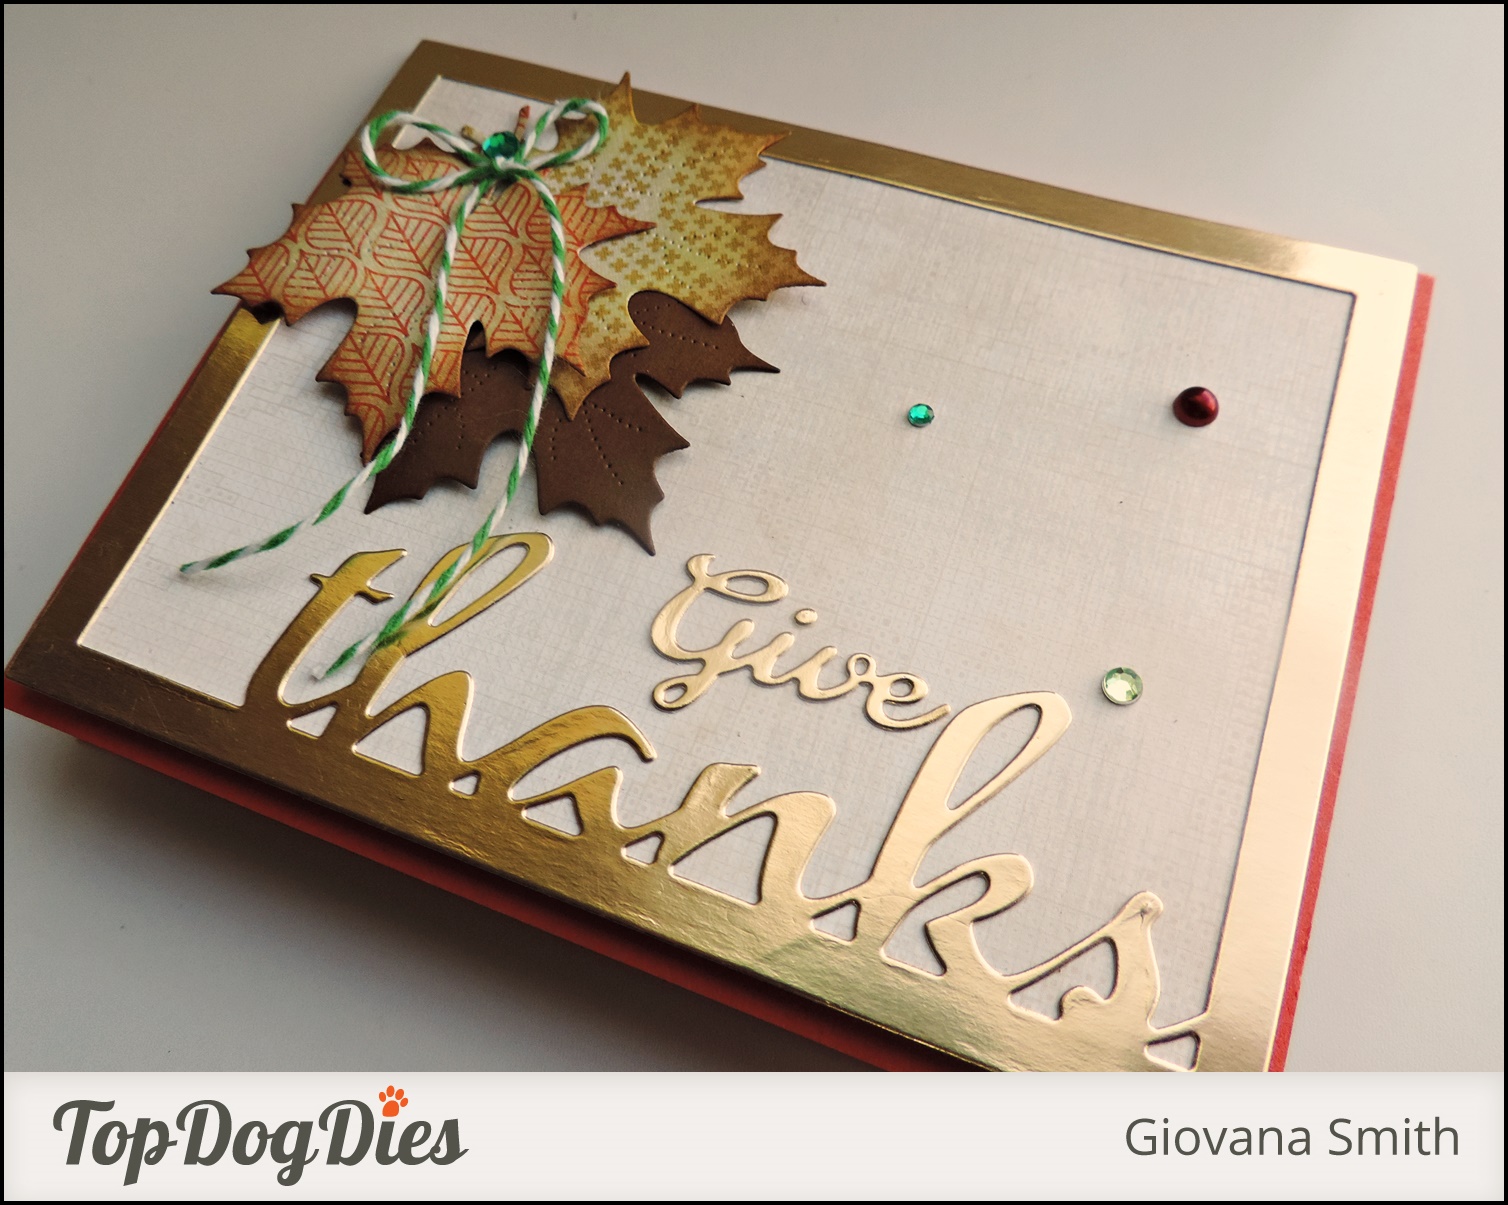
Hello friends! Today, I am bringing you a super easy "Give Thanks" card. Perfect to mass produce and send to your family and friends, only few steps and ready to mail.

Here are the steps:

  • Die-cut a frame using the new Top Dog Dies Thanks A2 Mat Die in Gold Cardstock, this cardstock is super shimmery, it looks like gold metal. Cut a mat to adhere behind the mat. Here, I used a piece of patterned paper.

  • Die-cut leaves from Patterned Paper using Top Dog Dies Fall Foliage Die Set, ink all edges with Vintage Photo Distress Ink. I also die-cut leaves from light brown cardstock to all to my card.

  • Add leaves to mat frame, green and red rhinestones and pearl. Finally add a twine bow to the leaves. I die-cut the Give from Top Dog Dies Give Thanks Die set in the same gold cardstock.


Submitting this project to:


Hope you like it!!
Have a great day!

Monday, November 10

Let your light shine this Christmas

Hello friends! Happy Monday to you all. Today, I have a Christmas card for you using just a small sentiment stamp, I think, after so many years I finally figured it out, LOL.
For my background I used one of my latest toys tools, the eBrush!! I got it few weeks ago, but until yesterday I had the chance to use it, my daughter was so excited, she couldn't stop using it.

Anyway, I used 2 of the markers that come with the tool to create my cool background and the Dots Stencil.


Here are the details of my project:

  • Make a cad base from White cardstock.
  • Mat background piece with a slightly larger piece of red cardstock. Adhere it to card base.
  • Cut a piece of gold paper. Adhere it to card base.
  • Die-cut a tag in white and red, cut a center piece from red tag and adhere it to white tag, add a strip of gold paper.
  • Die-cut a scallop piece from Green cardstock and adhere it to tag. Add twine and add tag to card.
  • Stamp sentiment from Frases Mini para Navidad set in StazOn St.Valentine Archival ink, add a fine strip of patterned paper and cut left side.
  • Adhere banner to card with foam tape. 
  • Cover a little wood veneer star from October's Kit in Gold Delicata ink. Then Add it to card.

The sentiment says: Let your light shine this Christmas.


For my project I used the Deconstructed Sketch #176


Submitting this project also to:
Hope you like it!!
Have a fantastic day!

Thursday, November 6

Crafter's Companion November Challenge: Christmas/Winter

Hello friends! Hope you all are having a great day, I am so close to finish reorganizing my craft room, feeling excited already. I can't wait to start crafting again!


So today I have a super cute Christmas card for you!! I made this card for the November Crafter's Companion Challenge, you can find all the details HERE (just in case, yo don't need to use Crafter's Companion products) For this card I used "Christmas Kisses" set one of the new Moonbeam Meadow Christmas Collection sets from Crafter's Companion.

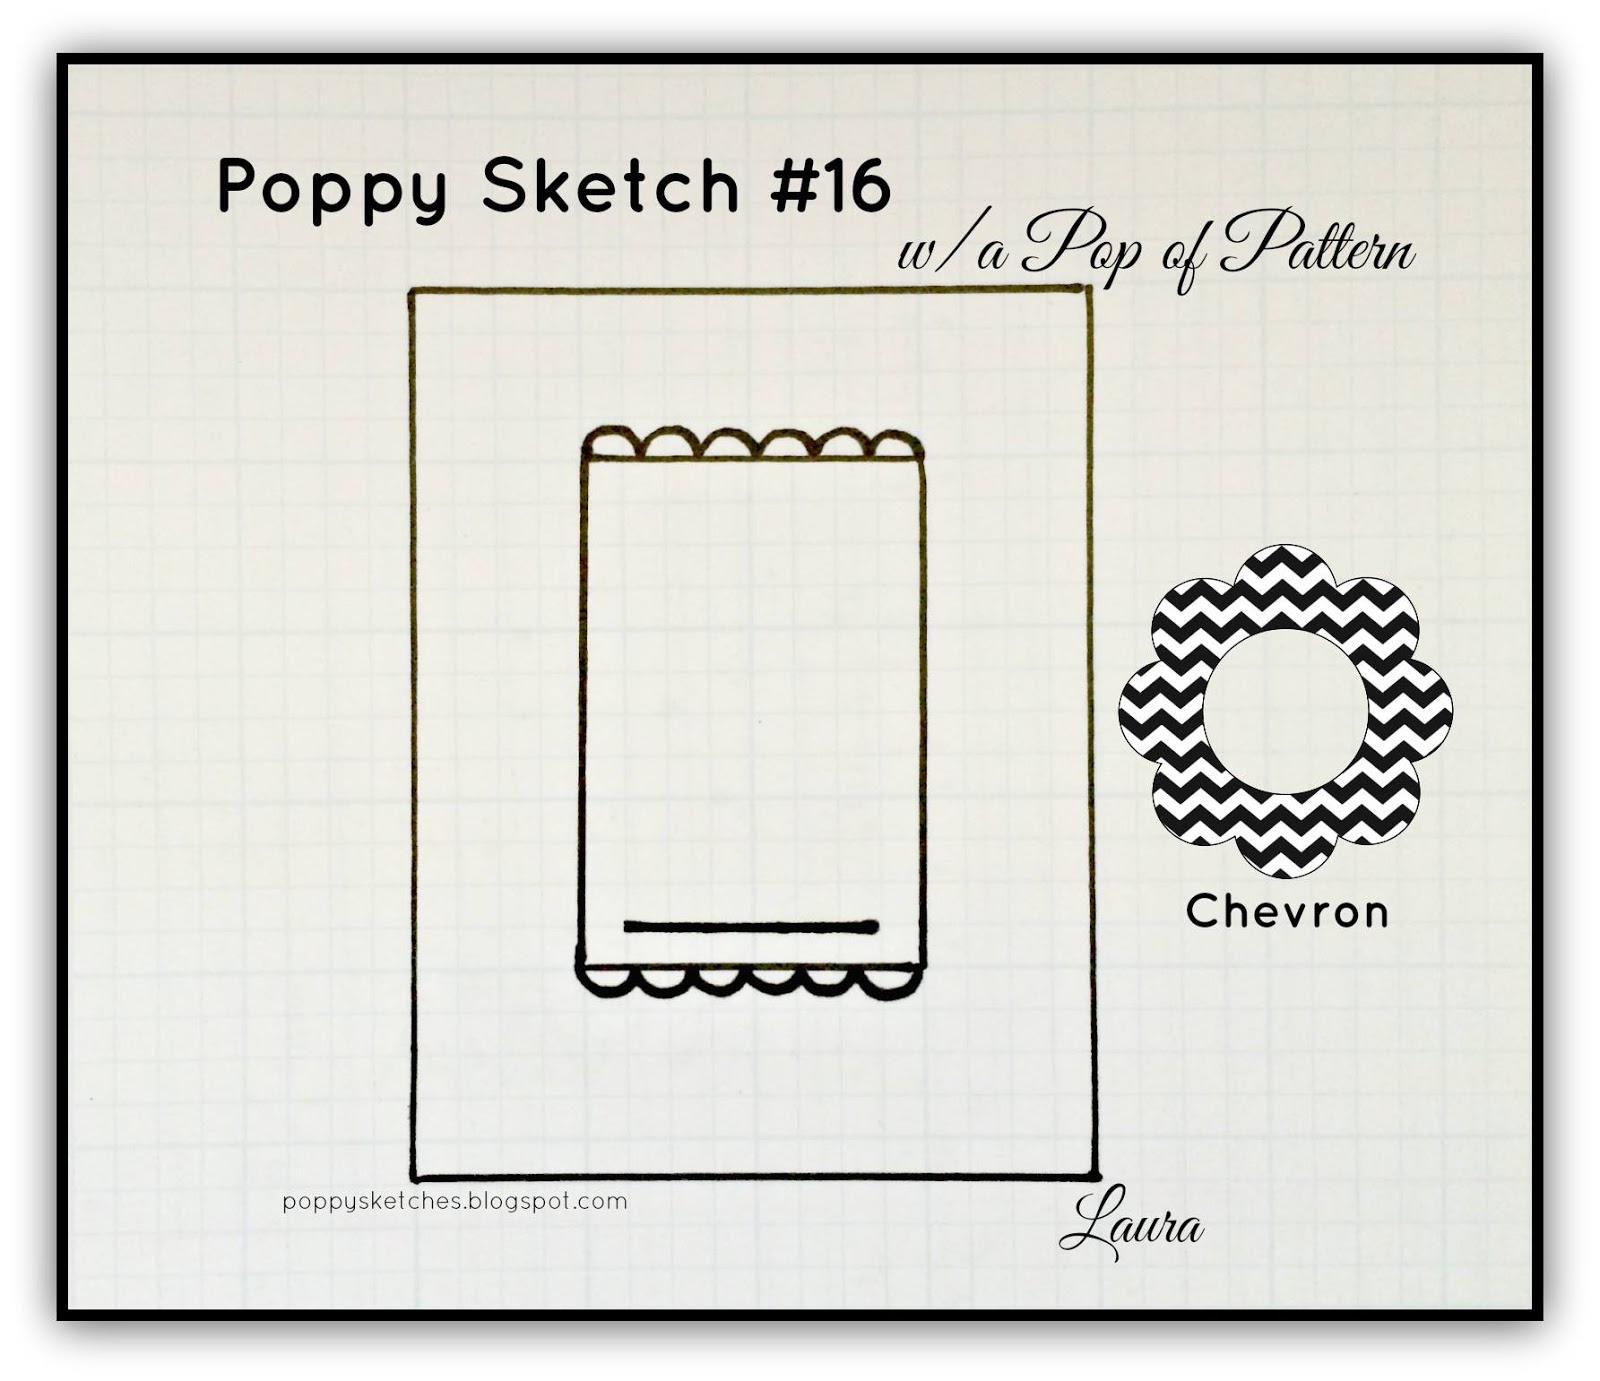
I got inspired by the sketch#16 from Poppy Sketches
Here are the details:


Submitting this project also to:
Hope you like it!
Have a fantastic day!

Wednesday, November 5

Give Thanks

Hello friends! Happy Wednesday, midweek is here and I am officially 42! LOL. Yesterday I had the post birthday effects, I had a great dinner at Red Robin with my husband and daughter, it was so much fun! But I ate all the food that I have not had in long time and my stomach was not too happy. So, I am back into my healthy eating again, also my husband bought few things to remodel my craft room, oh my, that's a lot of work!! I worked on that almost all day yesterday, I am super tired but excited to finishing all the organizing. I have a lot of things to sell and giveaway, so be alert ;)

Ok, back to my project, super cute Pumpkin Thanks card, made with Top Dog Dies.


Here are the details:


Submitting this project to:
Hope you like it!
Have a fantastic day!
Monday, November 3

Happy Birthday!!

Hello friends! Happy Monday and Happy birthday to me!! After 40 you get excited to celebrate another year, LOL. I am turning 42 today and the first thing I have to do this morning is to have a blood test taken, did I mention I needed to fast? Oh yeah, the fun things you need to do especially on your birthday.

Anyway, today I want to share a birthday card, no, I didn't make a card for me, I made it for the little one I babysat until September, I babysat him for about 8 months and his big sister for almost 5 years! He turned BIG 1 yesterday and my family and I got invited to his birthday party last Saturday. I was so happy to see all of them.

My big idea inspiration for his birthday card came from an UNO card, and here it is!


I love how they turned out "the bag and the card". This card was super simple to make, I just followed the colors from an UNO card, I used the Top Dog Dies Vintage Alphabet Set, die cut the letters in white cardstock and colored the letters with Spectrum Noir Markers. The dots were stamped in Versamark Ink, then added gold embossing powder and heat set. The Celebrate" was stamped in  piece of vellum in Versamark ink as well and added White embossing powder and heat set, used my scissor to create the banner and added it to card. Both sentiments are from Birthday Bash set.

Inside, I stamped the Happy birthday sentiment in Jet Black Archival ink and added the baby's name.

For the bag I used the Decorative Hanger Die from Soapbox Creations. First time using it, I am bad, I bought this die long time ago and I will be using it more often from now on.

Submitting this project to:
Hope you like it!
Have a fantastic day!!

Friday, October 31

It's beginning to look a lot like Christmas

Hello friends! Happy Friday for all of you! I hope you don't mind me showing a Christmas card today, I am not a Halloween fan and I think this project is a lot prettier {wink, wink} I have been under the weather, dealing with a very heavy heart and some difficult situations, I am trusting in the Lord, leaving all the heavy weigh and concerns in His hands.

So, let me show you this super cute 3D Christmas card!! Love it very much, the Ultimate Tool is the perfect tool!!

Here are the details:


What do you think? I really loved the results, it can be displayed  as well.

Submitting this project to:
Hope you like it!
Have a fantastic day.

Wednesday, October 29

Thankful for


Hello friends! Today, I want to share with you a very simple card with beautiful details. At first, my idea was to create a Thanksgiving invite, I was working on that, then I thought why not to make a card where you can write down all the things you are thankful for!  I think this can be a great game/ family time idea to do after your Thanksgiving dinner, and then we all can have the time to talk and give thanks.

So, here are the details:
  • Start die-cutting a couple of the big dies from Top Dog Dies Cherish Doilies and Tags set. Score them and adhere them to a piece of White cardstock (4.5" square).
  • Add piece to a 5" x 6" burgundy cardstock. Then die-cut Give Thanks in gold cardstock from Top Dog Dies Give Thanks Die Set, add sentiment to bottom part of burgundy piece.


  • Then, die-cut Top Dog Dies Fall Foliage Set in white cardstock, or you can do it from color cardstock. Color or sponge the leaves as you want to. Here I colored the leaves with Spectrum Noir markers, I used: LG2, DG3, GB7, DR6, Acorn TN5, TN8 and then all edges sponges with Aged Mahogany and Peeled Paint Distress Inks.

  • Add raffia around card and add foliage leaves , then make a bow and you  "Thankful for" note card is ready!


Dies used for this project:


Submitting this project to:


Hope you like it!
Have a fantastic day.

Tuesday, October 28

Heartfelt Creations October Alumni Blog Hop

Hello friends! Welcome to another Heartfelt Creations Alumni Blog Hop! This time I have a "Clean and Simple" Christmas card for you. I wanted to create something that maybe you could mass produce and send to your special family and friends!

So, I started stamping this pretty image from Winter Season Set on a piece of white cardstock in Versamark ink, then added gold embossing powder and heat set, this panel is 4.25" square. I matted this on a gold piece of paper 4.5" square. My card base is 5" square.
The sentiment is from Holiday Script Background, I masked the sentiment around the "Holy night" one, then used Versamark ink and gold embossing powder. Die-cut it and emboss it with Circle dies.
Added it to card with foam adhesive.
Finally, I die-cut a couple of snow flakes from Banner and Tree Die Set in gold cardstock, mounted them together and added it to card. Just to give it a little bit of color, I colored the ribbon and lights.


Here is the list of participants:


Don't forget to leave a comment in ALL the blogs participating in this hop for your chance to win a $25 Gift Certificate to Heartfelt Creations Store!
You have until October 31st midnight (Eastern Time) to leave a comment. Good luck!!

Hope you like my project.
Have a great day and have fun hopping!

Monday, October 27

Bebunni Giveaway Winner!!

Thanks so much to all who enter the Bebunni Giveaway!!

And the winner is:


Blogger Stephanie said...
Very cute, love the sparkles.
October 22, 2014 at 2:22 PM
 Delete

Stephanie, please send me your contact info at: giovanachavez @ msn DOT com


Friday, October 24

Sweet 'n Sassy "Christmas Blog Hop"

Hello friends! Welcome to a fun Sweet 'n Sassy Stamps Christmas Blog Hop, for this special occasion I created 2 cards using the set I chose for this hop which is "Poinsettia Stamp" and "Poinsettia Die"


Red Poinsettia: This card was very simple, details to take note are the panel under the vellum piece was spray with green and red mist, then added a piece of vellum on top and red cardstock on the bottom and added stitches. Stamped the sentiment in Brown Archival ink, then added burlap and twine. The poinsettia was colored with Spectrum Noir markers. Final touches are the pearls and liquid pearls on the center of flower.


Pink Poinsettia: This card is super simple!! I stitched 2 pieces of patterned paper, added a little of leftover burlap and stamp the sentiment on a banner. The poinsettia was colored with Spectrum Noir pencils. Final touch just added sequins and liquid pearls to the center of flower.


 I'm sure you have your own favorite Christmas stamp set, so we're inviting you to create a Christmas greeting and add it to the gallery by clicking the Linky Tool below!  Of course there will be a PRIZE for those who decide to join us.  You have until Thursday, October 30th, 2014 at midnight EST to upload your creation.  We will randomly select one lucky participant to receive a $10 gift code to be used at the Sweet 'n Sassy Stamps Store!  The winner will be posted on the Sweet 'n Sassy Blog on Friday, October 31st.

Hope you like my projects.
Thanks so much for stopping by.

----------

Thursday, October 23

Joy

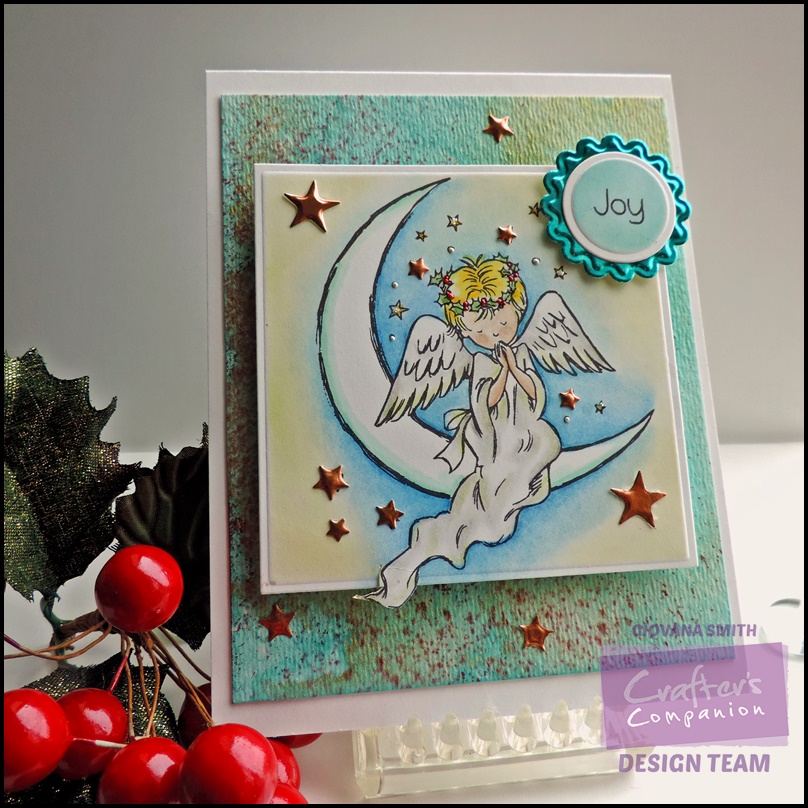
Hello friends! Hope your day is a good one. Christmas is going to be here before you know it and if you enjoy making and sending your own cards, I think this set would be a perfect one.
This set is called "Peace Angel" by Crafter's Companion.

Here are the details:


Submitting this project to:

Don't forget to enter my giveaway HERE!!


Hope you like it.
Have a fantastic day!

Tuesday, October 21

Crafter's Companion UK Birthday and a Giveaway!!

*** Giveaway is now closed ***

Hello friends! Hope your Tuesday is great! Crafter's Companion UK is celebrating its birthday and the CC USA sister is joining the celebrations as well!! This week Crafter's Companion USA has a week of sales! Who doesn't love sales {wink, wink}

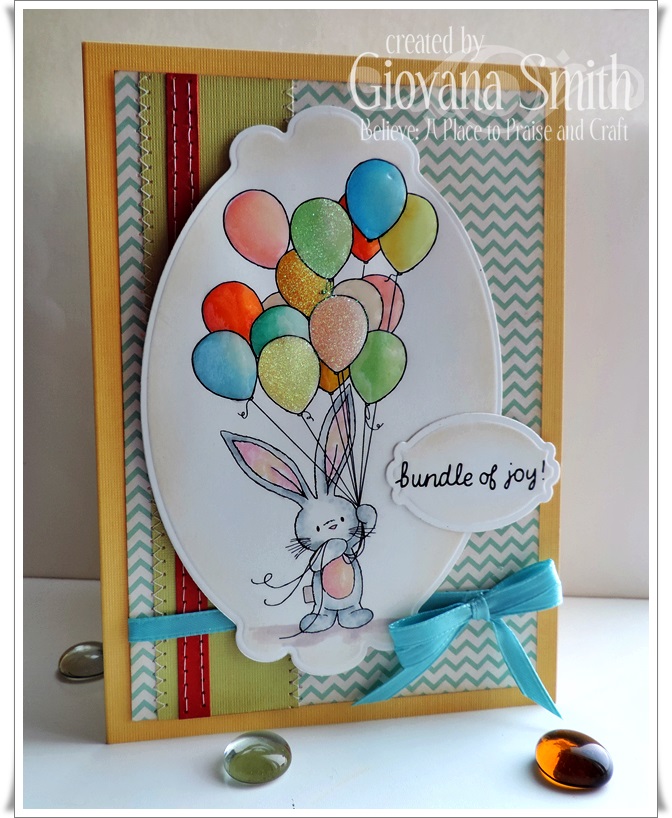
Today, I want to show you a card I made using a sweet Bebunni image, and you can get it for FREE if you place a qualified order over a CCUSA!!


This cute image was colored with Spectrum Noir Markers and Pencils:


Then I cut out part of the ear and die-cut the image with Circle dies and added a scallop red piece. Added a twine little bow and added stickles to the flower.

But wait!! That's not it, I have a beautiful set to giveaway! This Bebunni Celebration can be yours! What do you need to do? Just leave a comment and your name will be enter. 


I made this card some time ago with this set, you can find the info about the colors used HERE

That's it for today!!
Don't forget to leave a comment for your chance to win this set! You have until Sunday, October 26th (9pm Pacific Time) to enter!!

*** Giveaway is now closed ***

Saturday, October 18

A couple of "Clean and Simple" Christmas cards

Hello friends!! It's Saturday (night!) and I am here, blogging and relaxing on my couch after a day in the garden. My daughter and I cleaned  up 2 small boxes and 75% of the biggest garden box, we left tomatoes only on the ground, hopefully we will get more tomatoes before the real cold weather starts.
We harvested 22 pumpkins, 4 spaghetti squash, tomatoes, potatoes and beets!!

Anyway, after that I was so tired I only wanted to rest, I didn't even cook, ordered pizza and the family was happy. {wink, wink}

Ok, let me show you a couple of projects I made few days ago with a soon-to-be released stamps by Latina Crafter. I was in the Christmas and watercolor mood! They are super simple with lots of clean spaces (if you know my style, I love layers and layers)

Feliz Navidad: For this card, I stamped the trees on a piece of watercolor paper in versamark ink, added white embossing powder and heat set. Then I used my Inktense pencils and applied red, green, blue colors mixing them with a pencil until I got the background I wanted. Added a piece of dark green cardstock and zig-zag stitches. Then, addedthe panel to an A2 white card base. The sentiment was stamped on a piece of vellum in Versamark ink and gold embossing powder. Finally tied twine. My card was inspired the Fusion Sketch
Submitting this card also to: Virginia's View Challenge: Clean and Simple and Addicted to CAS: Vellum


Disfrutando esta Navidad: Means "Enjoying Christmas". Pretty much the same as the first card, for this one the same tree, I sprayed the image with sunflower and chocolate mists and blue intense pencil.Added straight stitches and die-cut the left side with a scallop line die. The sentiment was stamped tho the side, added red ribbon to create a nice contrast. I got inspired by the CAS(E) this Skech #96 


Hope you like them.
Have a great night!

Thursday, October 16

For You Tutorial

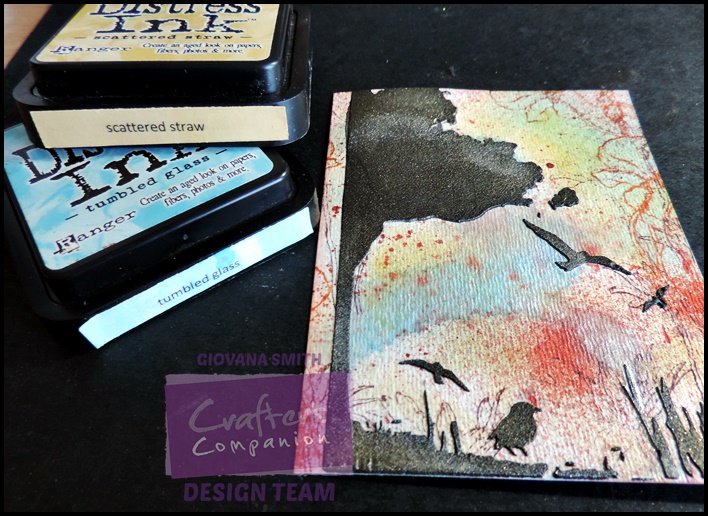
Hi friends! Today  I have a very simple and fun tutorial using brand new Sheena Douglas Stencils, this time I am using "Summer Meadow Stencil" and also new to the store Dreamweaver Embossing Pastes, in this project I am using Matte Black Embossing Pate.

Lets get started:

  •  Looks like this after all the pretty shimmering spray.

  •  Then, take your Claret StazOn Ink and stamp the daisies from Poppies and Daisies set. 


  •  While the paste still wet, sprinkle Dreamweaver Gold Metallic F/X. Set aside to dry. After it is completely dry, get a little bit of the gold fix and rub it on the embossed areas. It will give the black a really nice shimmer. 

  • This is the result. I added the embossed piece to an A2 card base, I added a strip of Candy Red Shimmering cardstock and few white stars I had leftover from the Christmas Wreath Die.

Hope you like it.
Have a great day.