Hello my friends, welcome to another
Scrappy Saturday Challenge. This week we are having our Monthly Blog Hop, so if you have arrived here from
Danielle's blog, you are in the right place, if not, I will invite to start from
Jenny's blog and don't miss any wonderful project.
Our challenge this week is all about
"Masculine Projects".
Our challenge this time is sponsored by
"Graphic 45" and 1 lucky winner will win a
Paper & Stamps from G45!!!
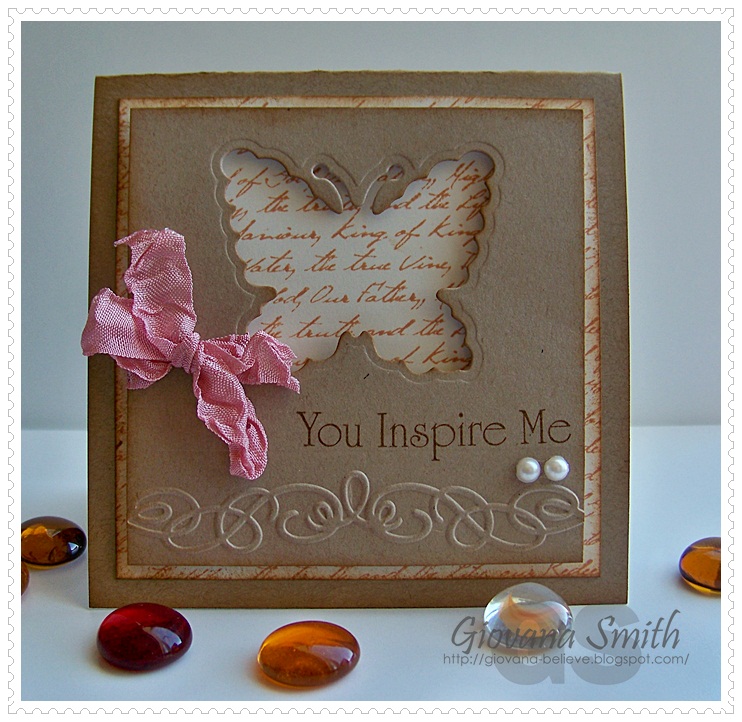
Here is my take on the challenge:
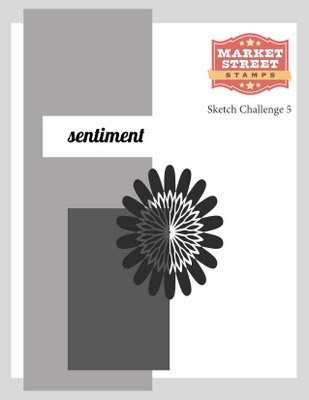
Directions:
- Makce card base from cardstock.
- Cut an Ivory panel, ink all edges, stamp saying and adhere it to card.
- Position a square and circle die on a piece of Ocean Mist Cardstock. Create a window panel. Stamp images randomly, ink all edges and adhere it to card with foam tape.
- Stamp a guitar image, cut it out and adhere it to card.
- Add twine.
Card Recipe:
- Cardstock: In the Navy, Ocean Mist, Ivory (Gina K. Designs)
- Stamps: Live Life Loud (Gina K. Designs)
- Ink: Faded Blue Distress, Tea Dye Distress, Tumbled Glass Distress (Ranger Industries)
- Embellishments: Caribbean Twine (The twinery).
- Accessories: Square and Circle Nestabilities (Spellbinders), Foam tape, Sponges.
Now, head over to
Laurel's blog and enjoy her wonderful creation.
The deadline for this challenge is
11.59pm PST on Friday, August 26, 2011. For more details, some fabulous design team inspiration and to link up your projects, click
here
Hope you like it!
Have a great day!!


 Vera W. Yates (Ling) said...


August 18, 2011 9:08 AM