Friday, April 22

Together

Hello friends!! Happy Friday to you all! Today, the new Sara Davies Floral Delight Collection is available now!
This collection is very feminine and beautiful, the patterned papers are amazing and you can combine them without getting too much of the same kwim?

My card is super simple and aren't those flowers gorgeous?! Let me tell you, the flowers are from 6" x 6" patterned paper pack, they are so pretty I decided to go old school and take my scissors and cut around them.

Here a re the details:


Entering this project to:
Hope you like it!
Have a fantastic day!!


Thursday, April 21

Ken Oliver Creative Team April Challenge

Hello friends!! How you all are doing well. The Ken Oliver Creative Team was challenged this month to create a project based on the theme "Family" and also we were challenged to used 3 Color Burst, 1 Metallic, Stick It, stamp and/or dies.

So, I decided to do a baby picture frame! I made this for a friend who recently had a baby girl, she is more like family to me. I've been wanting to visit her, but I am recovering now from a horrible cold/cough bug so I will have to wait until I get 100% better to give it to her.

The project was done in about 90 minutes!!

Here are the details:
  • Start with a wooden frame, paint it with white acrylic paint and then add a couple of layers of gesso, here I used clear gesso to keep the deep white color from the acrylic paint.
  • While the frame dries, paint a piece of Water Color Media paper with Liquid Metal Rose and Saffron. Set aside to dry. Apply Stick It to both colors and die-cut the banner in rose and the baby in Saffron. (After it dried I decided to cover the Saffron color with Metallic Rose, that's why the color looks a little bit darker) I die-cut the baby 3x and the banner 2x. Peel the Stick it and adhere them together.
  • Mist 4 pieces of Water Color Media Paper in Fuchsia, Orchid, Yellow Ochre and Merlot and Pthalo Green and Terra Verte. Die-cut flowers and leaves.
  • Spray flowers and leaves to give them more textures and shape them.
  • Add pink buttons around the frame window.
  • Glue flowers together and add them to frame.
  • Add banner and baby die-cuts.
  • Embellish with pearls and twine.


Ken Oliver Products used:
Other products:
Now, it is your turn to play along!! Create a project based on the theme and use as many of the products listed for the challenge and post your creation on Facebook using the hashtag #kenoliveraprilchallenge or email your submissions to sharon@kenolivercrafts.com.

Hope you like my project!
Have a fantastic day!


Tic-Tac-Toe Guest Designing

Hello my friends!! Few weeks ago I got an exciting email asking if I would like to be a Guest Designer for the Tic-Tac-Toe Challenge #8 and of course I said yes!!

For my creation I used the 3 items from the top line, you can find more details about the current challenge here


For my card, I started stamping the Autumn leaves in Antique Linen Distress Ink on a piece of watercolor cardstock, then colored them using the wet on wet technique, with Kuretake watercolor paints, allow the colors to dry naturally and add more color if desired. The sentiment I think invites to create more, I added this sentiment because I am trying to do better with watercoloring techniques, inviting myself to keep creating. I added a layer of shimmering cardstock to the watercolor panel and added it to the square card base, finally added 3 clear enamel dots.


Hope you like it!
Have a fantastic day!!

Monday, April 18

Downton Abbey Collection Release Time!!

Hello friends!! Happy Monday to you all. Today is the day that many of you have been waiting for, yes finally the new Downton Abbey Collection is here, This collection is pure luxury, the papers are one of the best I have seen in long time and the stamps, dies and embellishments are just "Beautiful"

I have a couple of cards to share with you, both were made just in minutes and you can make them too!!
This card is a 6"x6" card, perfect to invite your friends for tea. The image was stamped on white cardstock  in versamark ink and added gold embossing powder, I fussy cut the image. The frame die was die-cut in white foam to give it a little bit of the antique puffy look.


These are the products used for this project:


=====================================================================

This second card is so elegant! Perfect for a loved one or a friend for their special day (birthday, wedding, graduation) super easy, just an embossed panel for the background, a stamped sentiment and a topper, just remove it from the sheet and add it to your card!! Voila, done!


These are the products used for this project:


Hope you like them!
Have a fantastic day!!


Tuesday, April 12

With Love


Hello friends!! I am back with a super cute, simple and glittery card using the brand new Signature Collection by Sara Davies Butterfly Lullaby!! Soft and beautiful colors, great for girly projects!

For my card I started with a A2 card base from Ultra Premium White Cardstock. Cut a panel from Watercolor Cardstock and used Spectrum Aqua Markers: Blossom and Magenta to create a washed background. Then die-cut the "With Love" in Candy Red Shimmering Cardstock, White Cardstock and Patterned Paper from the same collection. Add the Candy Red piece first and then glued the other pieces together, on top I die-cut the piece with Stick It on top and added microfine glitter. Added it to the watercolor panel with a piece of the same patterned paper I used for the die-cut as an extra panel, few sequins and the card was done!!


Hope you like it!!
This collection is available now!!

Have a fantastic day!


Thursday, April 7

On your special day!

Hello my friends! It's Thursday, almost Friday! YAY!! Today's card is super easy, I wanted to focus on the image and coloring, here are the details:
  • Make card base from White cardstock. A2 size.
  • Cut a stripe of Black Pearl Shimmering Cardstock to a piece of Patterned Paper, tie twine and adhere piece to card base.
  • Stamp image from "Provence" set on a piece of watercolor cardstock in Jet Black StazOn ink.
  • Color image with Spectrum Noir AquaBlend Watercolor Pencils: Pesto Green, Verdan Green, Dark Slate, Asphalt, Gunmetal, Oak, Oregano, Hyacinth, Eldelberry, Chrom Orange.
  • Die-cut, emboss and stencil image with rectangle dies.
  • Add image to card base with foam adhesive.
  • Stamp sentiment from Sentimentals - Vintage Floral Collection Stamp Set in Black Ink.


Entering this card to:
Hope you like it.
Have a fantastic day!

Tuesday, April 5

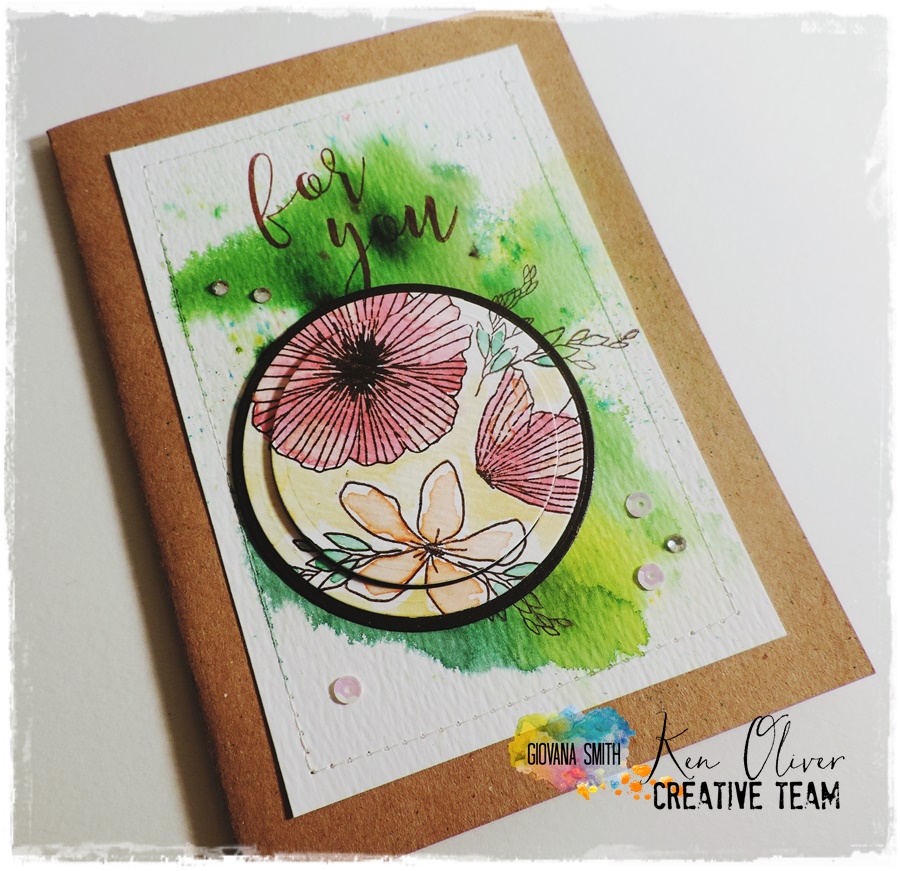
For you


Hello friends! Happy Tuesday to you. Today I have a very different card for you today, this project started with a completely different concept, but didn't work out the way I wanted it to, so since I had the image colored and ready to go and decided to die-cut it and create a window with the extra border piece, never wasting ;) I took a slightly bigger die-cut circle and die-cut a piece of shimmering black cardstock to create a contrast and show a little bit of the 3D effect.

The image is from "Wildflower" set and the sentiment is created with this super amazing set "Sophisticated script", with this set you can create pretty much anything you want to say.

The flowers were colored with the new Liquid Metals Metallic: Mandarin, Saffron, Jade, Rose and Verdi Gris, and for the background I used the new Color Burst Chartreuse and Lime Green. The sentiment was inked in Click It Walnut Ink.

The card base is a Kraft Water Media card, they come already stitched and includes kraft envelopes!

 Entering this card to:
Hope you like it!
Have a fantastic day!

Monday, April 4

Create your own patterned paper

Hello friends!! Happy Monday to you all, today I have a very easy card for you!! I have few steps of the process. I was making this card and couldn't find a paper that match the colors of my project (and I was a ton of PP) so I decided to create my own, the lines were free lines, no ruler needed. So let's get started:

  • Start making lines with broad nip side of the marker, horizontal and vertical sides. Here I used Spectrum Noir markers: CR4, CR11, GB3, CR6, TB1


  • Then, take the fine side of your DR6 marker and add lines on the red lines to create a contrast. 
  • The piece is done!! Then add black shimmering cardstock behind and also to the pretty image. The image was colored with Spectrum Aqua markers.

  • A close up of the image.

Here is my card, all finished  and ready to go!

Entering this card to:

Hope you like it!
Have a fantastic day!

Wednesday, March 30

No sentiment flower card

Hello friends! Happy Wednesday to you all! Today I have a special card with no sentiment at all. I think I add a sentiment in 99.9% of my cards, outside most of the time and sometimes inside, but this time I decided to leave it sentiment free {wink, wink}

Here are the directions:
  • Start with a 6" x  6" card base from White Cardstock.
  • Cut a 4.5" x  4.5" piece from Pink Pearl Shimmering cardstock.
  • Cut a 4" x  4" of polka dot and strip lace ribbon like paper from Floral Delight Patterned Paper. Add them to pink pearl panel and add zig-zag stitches.
  • Adhere panel to card base.
  • Die-cut  and emboss flowers from Pretty Petals Die collection in Watercolor paper, then color them with Spectrum Sparkle Markers: Rose Quartz, Solar red, Emerald Green, Crystal Clear. Adhere them to card base
  • Add swirl pearls.


Entering this card to:

Hope you like it.
Have a fantastic day!


Tuesday, March 29

Ken Oliver Crafts Creative Team Challenge

Hello friends!! Hope you all are having a fantastic day!! Today I have a very special post, the Ken Oliver Crafts Creative Team was challenged to create a floral project, but not a card, tag or journal. I have to confess I got a bit scared at first, since I am a cardmaker and most of my projects are just cards, anyway, then I decided to draw a sunflower. This pretty sunflower is from a couple of years ago, it was the first time I planted sunflowers seeds and I got few of them, they were lovely and very pretty.
This is the picture used as an inspiration for my project, please be nice, I don't draw at all, but sometimes I get curious and try to explore a bit [wink, wink]


Here are a couple of close-up pictures. I used Color Bursts and Liquid Metals to color the image.


This is the 12" x 12" piece.

Products used:

12"x 12" Mixed Media Art Board

Hope you like it.
Have a great day!


Friday, March 25

Bonsoir

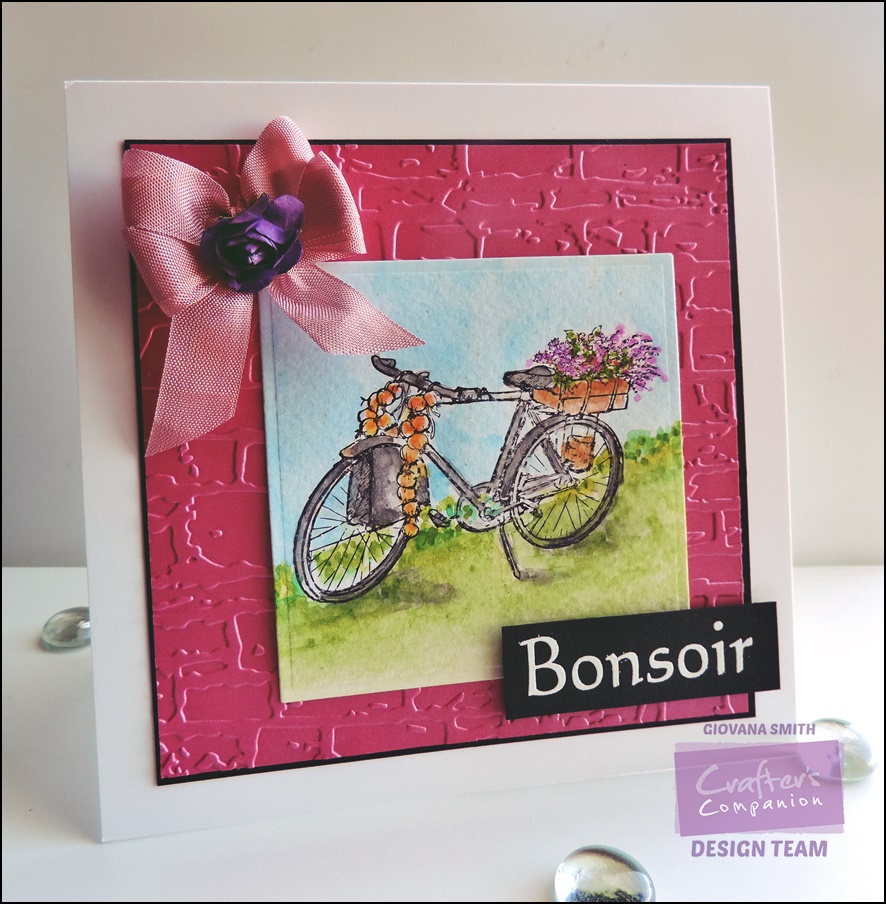
Hello friends! Hope you all are having a great Friday. I want to share a card I made few days ago using this cute image from Provence Set, I have to confess that I know very little French so I Googled "Bonsoir" meaning and found this:

bon·soir. interjection. The definition of bonsoir is a French word that means good evening, or can be used to say hello or goodbye in the evening time. An example of bonsoir is how someone would greet another when walking into a Paris restaurant for dinner.

This card is super simple, size of it is 6" x 6", the image was colored with the new Spectrum AquaBlend Watercolor Pencils, I highly recommend to get the, they blend beautifully and the colors are very vibrant. Added an embossed background, I think this embossing folder was perfect for this image, finally the sentiment was stamped on a piece of Black Pearl Shimmering cardstock in Versamark Watermark ink and added white embossing powder.. Ribbon and paper flower was added to embellish the card.


Crafter's Companion Products used:


Hope you like it.
Have a fantastic day!!

Thursday, March 24

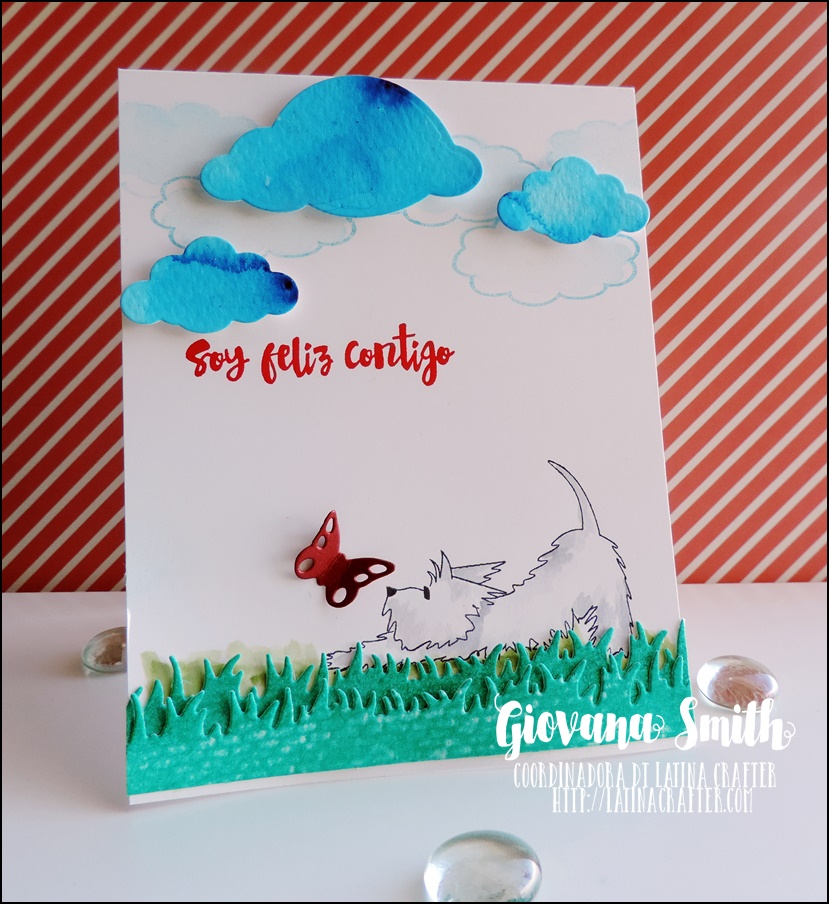
I am happy with you

Hello friends, Happy Thursday! It's almost Friday and I hope you all are having a great week so far.
Today, I want to share a CAS card I made using Latina Crafter Stamps, for this project I used the super cute Flogger, the stamp image is from Flogger Relax and Presentando a nuestro bebé (from this set I used the clouds)

Here are the details:
Hope you like it.
Have a fantastic day!

Monday, March 21

A couple of cards, few days later.

Hello friends!! Happy Monday to you all! Hope you all are starting a fantastic today I want to share a couple of weeks I meant to share last week, but I have been so busy I just couldn't.

First card is the one I made for St. Patrick's Day, this set is Crafter's Companion called "Lucky You", this image is adorable, I really love all the Bebunni Collection from Crafter's Collection. I colored the image with Spectrum Aqua Markers.


And the second card is the one I made for my daughter's birthday, she celebrated her 12th birthday last March 18th, goodness gracious, she is becoming a gracious and beautiful young lady, now she believes I have an accent, but she likes it {wink, wink}
For this card I used Color Burst (Ultramarine Blue, Sepia and Alizarin Crimson  for the background and to color the cupcake.
I used the Eat Cake & Celebrate set  and coordinated dies from Concord & 9th


Hope you like them.
Have a fantastic day!