Welcome to the Impression Obsession January Release Hop!
January 15th -16th the Impression Obsession Team will be sharing projects with the NEW January Release stamps, stencils and paper packs! You can find a list of participants on the Impression Obsession Blog each day through the event.
We will be giving away THREE Impression Obsession $25 gift certificates for the event so the more you comment through our Release Celebration the more chances to win!
I have a couple of projects for you!
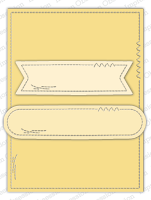
Hold it together.
Blend Sienna Ink on panel. Flick white gouache on panel and let it dry.
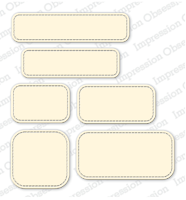
Die-cut panel with Crazy Stitched Set.
Stamp and color stapler and fussy cut it out.
adhere it behind Grid panel. (I really want it the stitched edges behind the panel ;)
Staple lace ribbon and die-cut border hearts.
Add sentiments and image to panel.
Adhere panel to a 5" x 6" white card base.


Products used


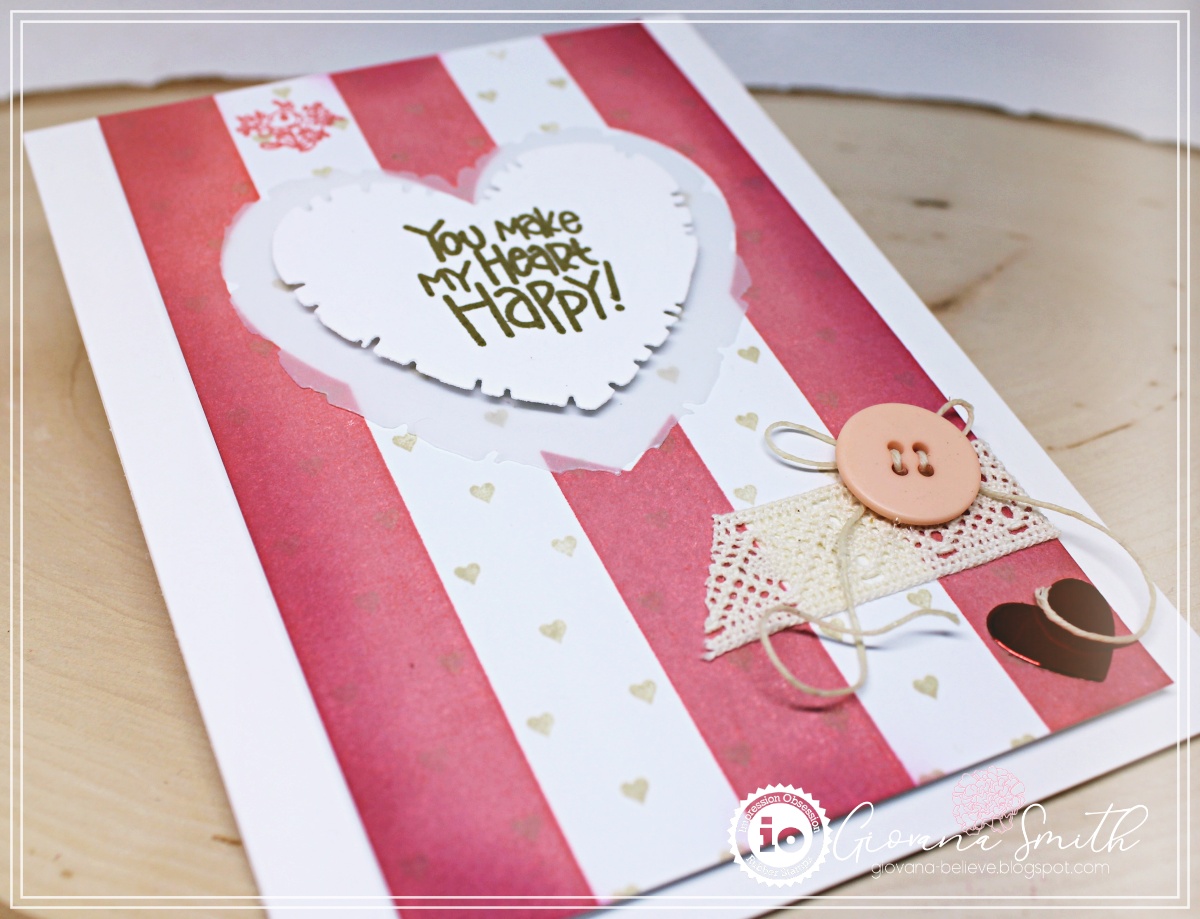
You make my heart happy.
Stamp Hearts background on white cardstock in Beige Ink.
Trim image and blend Rose Ink on all edges.
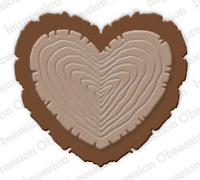
Die-cut hearts from Wooden Heart in vellum and white cardstock.
Stamp sentiment from You have my heart on white heart in Versamark Ink,
add gold embossing powder and heat set.
Add hearts to panel.
Embellish card with lace ribbon, pink button and red heart.

Products used
Affiliated links used at no extra cost to you.


Blog Hop List
All comments for each of the event days will be open until Tuesday, January 24th at 8pm CT
All winners will be announced Wednesday, January 26thon the Impression Obsession Blog.
Have a wonderful day!
Enjoy the hop!
Enjoy the hop!