Showing posts with label Tutti Designs. Show all posts

Monday, February 19

He has Risen

Hello friends!Sharing today a set of Easter cards! Now that Valentine's is over, you can start all out Easter/Spring projects!!
I love tulips, they are so pretty and elegant looking, after so many years I planted a big row of tulips on my yard and once they bloomed I was a happy camper.

Anyway, let me show the cards I made, they are so easy to mass produce in case you send out Easter cards.
These are the Tutti Designs I used:

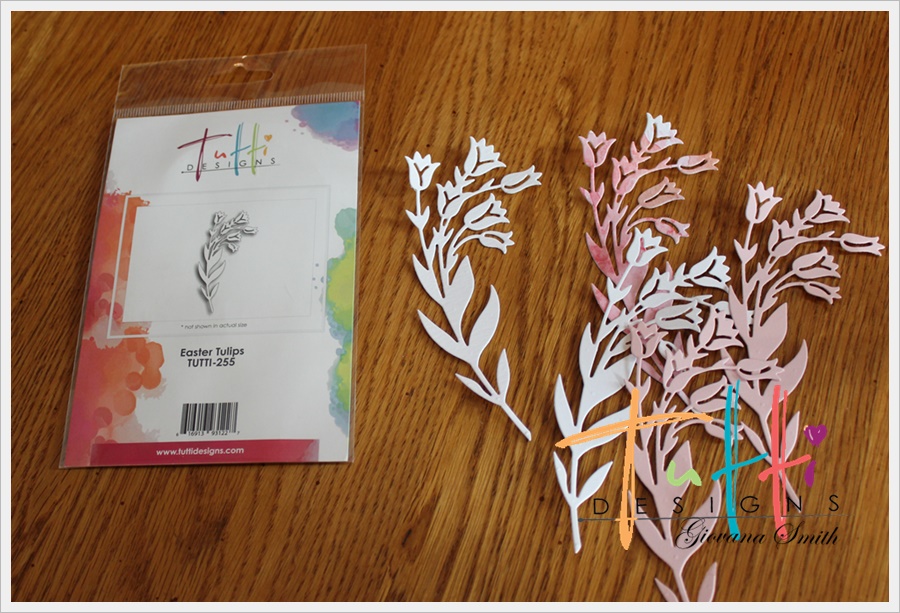
TUTTI-255 Easter TulipsTUTTI-413 Dotted Nesting OvalsTUTTI-419 Scalloped Stitched Nesting Circles

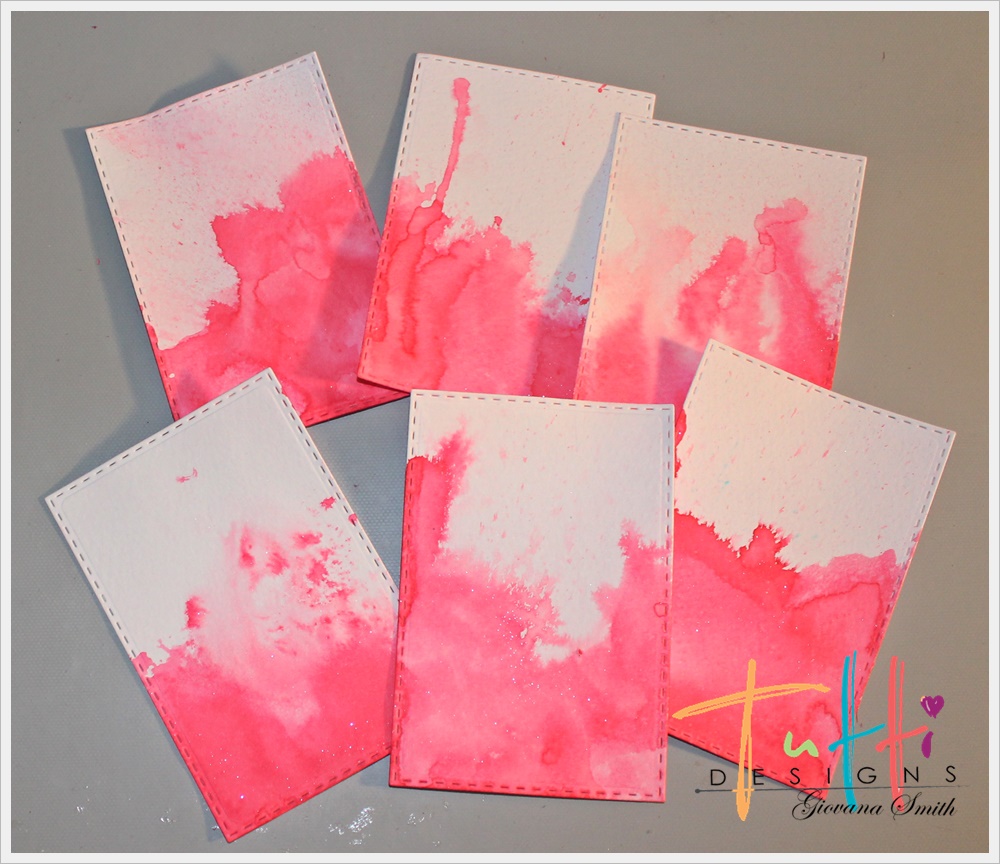
I started with a sheet of watercolor paper and added Color Burst Powders, set aside the paper to let it dry, then die-cut the piece using the Dotted nesting Ovals and Scalloped Stitched Nesting Circles Dies. I also die-cut the pieces in vellum paper.

 Die-cut the Easter Tulips in white, pink and a leftover watercolor painted piece.
 After that, I just adhered the pieces together, stamped the He has Risen sentiment on the piece of vellum. Finally I added pearls and the cards were done!
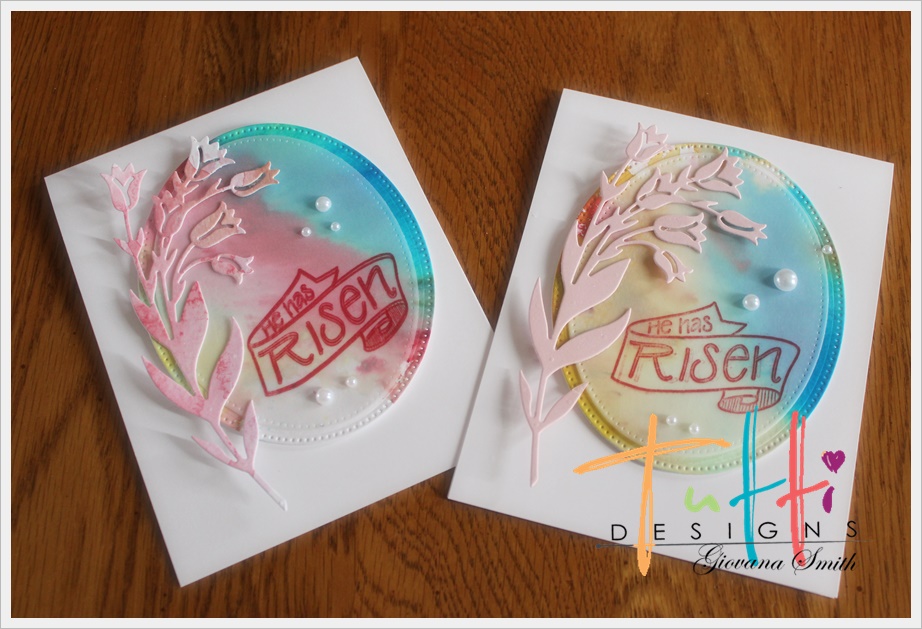

Here are the cards all together.

Entering this set to Simon Says Wednesday Challenge: Add a Die.

Hope you like my projects!
Have a fantastic day!

For your convenience, here are all the Tutti Designs quick links you will need:


Happy Crafting!


Monday, January 29

Delicate Rose Card Set


Hello friends!!Today I want to share a set of cards I made using a lot of scraps!! Yes, everything but the card bases were scrap pieces. I've been cleaning  my craft room, well, it is still a work in progress, but I was able to organize a lot of scraps, so much that I decided to die-cut some of them to make cute card panels for my projects!!
These are the dies I used:

TUTTI-421 Delicate RoseTUTTI-418 Scalloped Stitched Nesting RectanglesTUTTI-217 Nesting Stitched Rectangles

These are the pieces I die-cut: Stitched Rectangles are from watercolor paper, the Scalloped Stitched Rectangles are pink and salmon cardstock color. I die-cut some frames, but I ended up not using them.
 Watercolor the white stitched rectangles pieces using Pink Shimmer markers and water.
 Adhere the watercolor pieces to the scalloped pieces using foam adhesive.
 Stamp the sentiment using your MISTI, then adhere the die cut roses to the watercolor panels. The sentiment is from Many Mandalas by Concord & 9th
 All panels were adhered to a light gray cardstock card base. Add sequins and using shimmer to roses with a shimmer marker.

Here is the trio of Thank you Cards. 

Here is the trio of Wishing you Cards

Submitting this set to Simon Says Stamps Wednesday Challenge "Layer It Up"


Hope you like my projects!
Have a fantastic day!

For your convenience, here are all the Tutti Designs quick links you will need:


Happy Crafting!


Saturday, January 6

Life is beautiful


Hello friends! Hope you all had an amazing week! Sharing today a very feminine card, anytime I make a card now I try to make more than one. So this die really invited me to create a couple of cards using the leftover parts from the border die.

TUTTI-421 Delicate RoseTUTTI-419 Scalloped Stitched Nesting CirclesTUTTI-418 Scalloped Stitched Nesting Rectangles


Let's get started:
  • Adhere Stick It behind the cardstock for easy movement of pieces.
  •  TIP: Use Press'n Seal behind your die-cut, every single piece will stay in place and you will not have a problem moving the little pieces to the opposite color border rose.
  •  Adhere your base die-cut on a piece of white and pink cardstock. Then, start moving the die-cut rose edge first to the opposite background piece, then add the little filling pieces.
  •  Ta-da!!!


Submitting this project to Simon Says Wednesday Challenge: Something New  (new dies for me)

Hope you like my project!
Have a fantastic day!

For your convenience, here are all the Tutti Designs quick links you will need:


Happy Crafting!


Tuesday, December 26

Take the Step.

Hello friends! How are you doing today? Hope your holiday celebrations were amazing!! Now, we can start relaxing a bit. I  am getting ready to close the craft room door for a few days and enjoy movies and relax while I can.
Today, I have a non-holiday card. Probably by now you are done with your cards and want something different, well, you are in the right place :)

For today's project I used this beautiful stamp "Take the Step", distress inks and my MISTI! Super easy project, love how it turned out, I think I will frame it.
  • Start stamping the top part of the image in black ink.
  •  Clean up your stamps, then stamp the whole image in Versamark Watermark ink , then add clear embossing powder.
  •  Use Distress Inks to add more dimension to the project. I used Tumbled Glass, Broken China, Mustard Seed and Wild Honey Distress Inks.

Die-cut the image and adhere to a couple of coordinated cardstock panels. Card size is 6" square.

You can use my TJ10Giovana code to get a 10% off .

Hope you like it.
Have a great day!

Monday, December 25

Merry Christmas!!

Card created using dies from Tutti Designs

Hello friends!! Wishing you all a Very Merry Christmas! 
Blessings to all.
Hugs and the best for you.


Saturday, December 23

Poinsettia Corner Cards

Hello friends! T I want to share with you a couple of cards, both similar, easy and very elegant! For this project I used Poinsettia Corner from Tutti Designs, this die is very delicate and elegant.

TUTTI-120 Poinsettia Corner
So, let's get started:
  • Die-cut the beautiful Poinsettia Corner in Metallic and Glitter Red Cardstock.
  •  Cut a card base 11" x 5.5" and scored at 5.5" (here I used White and Gold cardstock for card bases) and cut card fronts 5" square in Gold and Clear Vellum.
  •  Stamp sentiment on vellum, score 1/8" on each side. Then, adhere the poinsettia, I used my MISTI and as you can see on the picture I used the 1/4"corner to align the die and get the perfect position.
  •  Finally, adhere the panels to card bases and add red sequins.

Hope you like my project!
Have a fantastic day!

For your convenience, here are all the Tutti Designs quick links you will need:


Happy Crafting!

Friday, December 22

Last minute Christmas cards

Hello friends! Today, sharing your last minute Christmas cards and tags too! I hope all your shopping is done and all your card were mailed, right? Yeah, me either, hehehehe and just in case you are in need of a quick idea to make 3 cards + 2 tags with 1 background stamp, today is your lucky day!!
Yes!! I used this super cute from Concord & 9th "Christmas Cheer Turnabout" , so let's get started!
  • Starting with stamping the Christmas Cheer Turnabout, using your MISTI,  on a piece of cream cardstock in Versamark Watermark ink. (click on the picture for a bigger one)
  •  After stamping the 4 sides, add gold embossing powder and heat set.
  •  Using stitched dies or any rectangle and a square die, die-cut the background piece. At first, I just wanted the 3 big pieces, but then I have a "great moment" and decided to die-cut the little pieces as well for little tags {win, win}
  •  Stamp sentiment on bottom part of cards in green and red ink.

Here are the cards!! Love how they turned out! I added gold snowflakes and bough to embellish the cards, both from "Take a Bough Die"
 And here you have the 2 little tags, I kept them super simple, just added snowflakes and bough to the corner, I used a brad I found on my stash (do you still use brads?)

I hope you like these projects! It took me 40 minutes to create this set, not too bad, right?

Entering this set to Where Creativity Meets C9 : Anything goes

Have a fantastic day!!
Hugs!